How To Iron Perler Beads? Step By Step Guideline
by Anthony Clark
Did you know that you can iron perler beads? It's true! In this blog post, we will show you how to do it. First, you need to prepare your work surface. Then, you need to arrange your beads into the desired pattern. Next, fuse the beads together using an iron. Finally, remove the fused beads from the pegboard and enjoy your new creation!
Contents
What you need to know about Perler beads

Prior to looking into the steps, it is worth knowing what these two words mean. You may be wondering what type of beads we are talking about. Don't worry, relax, then continue reading this article.
Perler beads are:
- Tiny: These beads are small in size; however, they come in different sizes. You can hold hundreds of these beads in your palm without any one of them falling.
- Colored: Perler beads are meant for decoration and making super beautiful designs on mats and pegboards for kids and households. They come in different colors that you can choose, taste, as well as prefer.
- Temperature-sensitive: They are susceptible to high temperatures since they are lighter weights. Components of Perler beads are heat initiated. With such property, they can stick on pegboards to come up with desired shapes and pleasing appearance.
- Shaped: They have different shapes. Others appear rectangular, squared, circular, while some of them are irregular in conditions.
In Summary,
- Perler beads can be fused together using a pegboard and an iron.
- They come in a variety of colors and shapes, which allows for a lot of creativity when designing projects.
- Perler bead projects can be quite time-consuming, but the results can be really impressive.
- There are lots of different patterns and designs that can be created with Perler beads, so be sure to experiment!
The Benefits of Using Perler beads
There are many benefits to using Perler beads, including:
- They are a fun and easy way to create works of art.
- They are a great way to teach children about colors and shapes.
- They can be used to create decorations for your home or office.
- They are a great way to keep children occupied and entertained.
- They are affordable and easy to find.
- They can be used to create custom gifts for friends and family.
- They are a great way to express your creativity.
- They can be used to make jewelry and other accessories.
- They are a fun way to relax and de-stress.
- They are a great way to learn new skills and techniques.
Step by Step on How To Iron Perler Beads
Gather your materials - Perler beads, ironing paper, and an iron
Place the beads on an ironing board in the desired pattern
Cover with a cloth and iron on medium-high heat for about 15 seconds
Set your iron to medium-high heat and press down for about 15 seconds. Check to see if the beads are fused to the fabric - if not, repeat these steps.
Remove from the board and let cool
If needed, apply a small amount of adhesive to hold the beads in place
The Ironing Process
Using an iron is the perfect way to use when sticking Perler beads on mats or pegboards. Know that everything you do must have all that it needs for it to be complete. Put the following in place before you start ironing.
Requirements
a) Assemble the Perler beads
- They are the number one requirement.
- These beads are present in shops, kiosks, wholesales, or any suppliers next to you.
- You will find Perler beads in every region, depending on your location.
- These beads are affordable to anyone because the prices vary with the quantity of what you want.
b) Ironing device:
- You should use an electronic ironing device because there is a constant need for heat intensity regulation throughout the process.
- Remember that these beads are susceptible to high temperatures so that excess heat may burn them off.
- Excess heat may as well damage the protective materials that you may want to use during this process.
c) Pegboard or mat:
- The primary concern should be to coming up with beautiful art.
- An art that somebody can hold and see.
- This type of beads will not create a perfect look without arranging or sticking them on a solid surface.
- Many people tend to prefer different choices of the characters. Others prefer using pegboards, while other people involve mats in the artwork.
- Pegboards come in different designs. Others are perforated, while others have uniform layers with no perforations on them.
- Any choice is satisfying as long as you know what you want.
- It is worth knowing that pegboards differ in strength and quality so, be keen before choosing the type you want.
- Many people use mats. Just like pegboards, mats also come in different designs, both in appearance and shape. Again you should consider the strength and quality of the carpet before you use it for your artwork.
d) Power:
- You may be wondering where the hell power is coming.
- Remember, you are using an electric device that depends not only on your hand's mechanical energy.
- It would help if you had electricity to run the iron box. So it would be best if you carry out the operation at a place with a constant electric power supply.
- With an efficient power supply, you can manage the heat regulation appropriately. This proper heat regulation will let you do a perfect job.
e) Skills and Accuracy:
- These two things are also basic during the operation.
- Remember that this activity is art-oriented and so creativity matters a big deal.
- Achieve this creativity by having outstanding skills and doing everything accurately.
- With high accuracy, you will not mess up in everything you will do. Again you will also be keen on heat regulations while ironing.
f) Work Platform:
- An essential requirement that many individuals tend to ignore.
- You will commit a crime by ironing on bare ground or rough surfaces.
- Have a specific bench or table for carrying out this activity only. With this idea, you will make beautiful items with appealing shapes and images to satisfy your needs.
g) Time:
- This activity requires concentration and attention.
- You will not offer the two requirements if you do not set enough time.
- Remember that you will decide on the fashion, type of color, and shape that will be most suitable.
- Time is needed to fix all these things in place.
- Take enough duration of time during the ironing period. This will minimize possible errors that may occur hence poor work.
Methods and Procedures
You may be wondering about the ways that you can use. There are many methods to apply. They include;
- Applying Kitchen Craft Non-Stick Parchment Paper
- Applying Depilatory Waxing Paper
a. Applying Kitchen Craft Non-Stick Parchment Paper
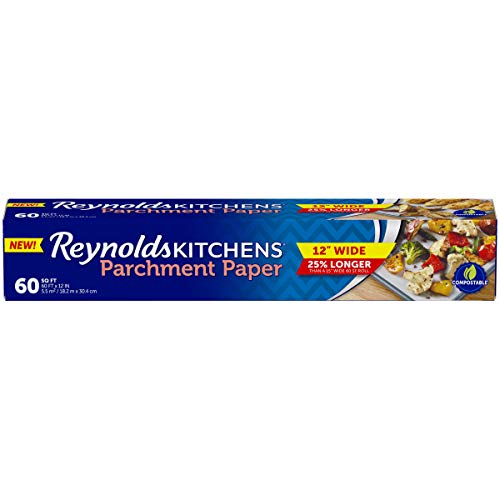
This technique is widespread. Below are what you need to know about this type of paper before looking at the steps.
- It has cellulose materials
- Processed with extra strength, resistance to oily materials
- Do not stick on surfaces.
- Made of a wet surface with moderate cold temperature.
Procedures to follow:
i. Put the beads on the surface of the pegboard. The pegboard should lie on a flat surface, especially on the works surface. The work surface can either be a table or a bench. Organize the Perler beads on the surface depending on your desirable fashion and pattern.
ii. Heat the Perler beads gently before you cover them with the parchment paper. Now put the parchment paper on Perler beads and adjust the temperature of the iron box to the optimum. The optimum temperature, in this case, is medium.
iii. Take your time as you wait for the temperature to increase. The iron box will achieve the most suitable temperature for the operation. This step only takes a few seconds to complete.
iv. After that, take the hot iron and apply it to the parchment paper. It would be best to press the hot iron gently to heat the beads with a lot of efficiency and accuracy. Remember that pressing the hot iron for too long can harm and cause the burning of the parchment paper. The excess heat can even extend to the beads. So you should apply the hot iron with some intervals of time, usually 10 to 20 seconds. After which, the Perler beads shall connect ultimately.
v. Continue ironing the beads so that they can stick correctly. Remember, quality work is what you want to achieve. So you must take your time and do the necessary for the best results.
vi. The last step is to let the whole thing cool. Take off the Perler beads from the pegboard. The parchment paper will also come out with the Perler beads. After this, you shall have what you were making.
Caution
- The operation is quite tricky to carry out. In the whole process, there is a lot of care and attention. It means that you must be very careful while carrying out any procedure.
The following are some of the cautions for this method.
i. Do not apply heat on the parchment paper for too long because it can melt when you press the iron for a long time on it; this will ruin everything in the whole process.
ii. The hot iron must not get into contact with the pegboard. The board can quickly burn if it gets into contact with the heart. Be very careful when ironing.
b. Using Wax Paper
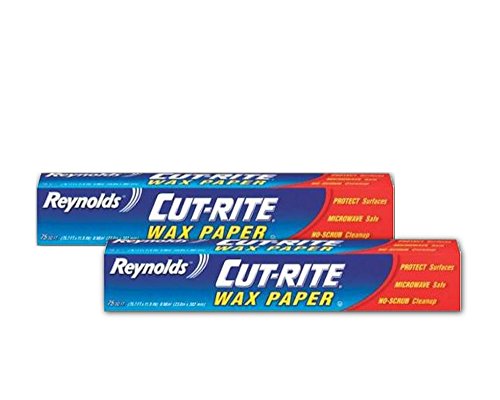
- You can use this method while ironing the Perler beads too. Many people do not like using this method because the Perler beads stick on the wax in the process.
- It would be advisable to use the method only if you cannot access other types of papers for ironing.
The method follows the same steps as those of parchment paper.
i. First, place the Perler beads on the pegboard and heat safe and gentle. Arrange the beads according to your desired fashion.
ii. Switch on the iron and allow the temperature to be medium
iii. Place the wax paper on the Perler beads and press the hot iron. Do this at regular intervals of time.
iv. Stop ironing and allow the whole thing to cool down for some minutes.
v. Then uncover the wax paper together with the Perler beads to leave the pegboard alone.
- Care and attention are necessary during the operation because pressing the iron on the wax paper for too long can melt it, making the beads stick faster on the form.
- Ensure that the iron does not contact the pegboard; this is because the board can quickly burn.
Conclusion
With the above steps, you can come up with the most appealing designs of Perler beads for your home decorations and make beautiful images for your kids to use as they play. We hope you got all that you were looking for from this article. That is always our pleasure.
 |  |  |  |

About Anthony Clark
Anthony Clark always had a passion for digital drawing and printing ever since he was young. He would wander around his parents' house in Phoenix, Arizona drawing various things with his older digital tablet. Be it just a memory collection or a portrayal of anything: objects, parents, school, events, etc. He received his BA in Graphic Design at San Jose State University - the heart of Silicon Valley. Now Mr. Clark is excited to present his experience coupled with some colorful dips to help shape the future of printing.
Thoughts on "How To Iron Perler Beads? Step By Step Guideline"
| | | |
Get some FREE Gifts. Or latest free printing books here.
Disable Ad block to reveal all the secret. Once done, hit a button below
| | | |